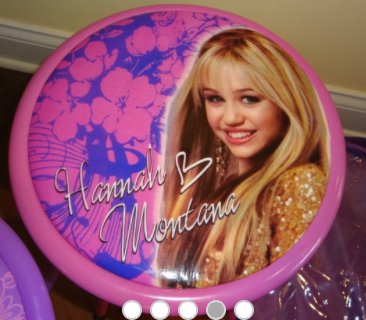
Miley Cyrus has died..well, at least in my house! No one likes Hannah Montana anymore. That has been true for many years but the kids have been using EVERY darn day the Hannah/Miley stools they have at the arts and crafts table for homework, projects and other things.
I have been looking for some appropriate stools for a long time to replace them..too short, too tall, too cheap, to expensive, too much wood or too much plastic. In an attempt to not spend any money (as usual!) I started brainstorming ideas...then I remebered the card table project it dawned on me that I can do the same to the Hannah stools. DUUUUU. I swear the fibro fog makes some very basic, obvious things escape me for far too long.
So I started by flipping over the stools and unscrewing the bottom from the top.
I used a flat head screwdriver to remove the staples as the staple remover was not up to the job!
Surprise! Its just a piece of cardboard with a thin piece of foam to protect the tushy.
I had the kids pick out the fabric they liked. I certainly would have done all four matching in something a little more sophisticated but the stools do belong to them, and it's a new practice of mine to NOT be in control of everything...(gasp at the thought!)
SO I laid out the fabric and got to stapling. (Before you staple read the tip below!) You have to pull and staple, turn it a little, pull and staple, and repeat a million times since its circular, you obviously want to make sure there are no bulges and gaps and when its flipped over its still in the shape of a soothe circle.
So after I was done I flipped it over to admire how awesome it was and ran my hand along it to revel in how smooth it was aaaaand I was immediately stabbed by my staples. BOOOO. No one wants the kids bums poked with staples!!
Tip: Make sure you are using staples that are not too big to go all the way through the cardboard. I knew the staple gun staples were too long, so I assumed without checking your everyday run of the mill paper stapler would do the job. WRONG
Staples out. Second attempt.
Glue gun. Worked great.
Problem solved!
Next was time to cover with the vinyl.
Same process but you MUST take care with the glue gun here!! If you dab the glue and pull the plastic too tight the heat will melt it and it will rip, and you may have to start over. Position it where you want it and then just gently push down into your dab of glue and hold till dry. My fingertips did get a little "warm" a few times here and there so I did end up using a pencil to hold it down and give my fingers a break. I also used the pencil to mark on the fabric where the screw holes were so I could line it back up with the bottom and reattach.
So here is the finished product. They are extremely happy.
Of course in my mind I had envisioned something along the lines of ...this...
or this...
or this...
But when they are finally done with them forever, I have great visions involving a can of spray paint, some tassels and some new fabric. I think if the thin almost invisible layer of cushion is removed, it would make a cute little table for a tiny spot next to my rocker..hhmmmm...